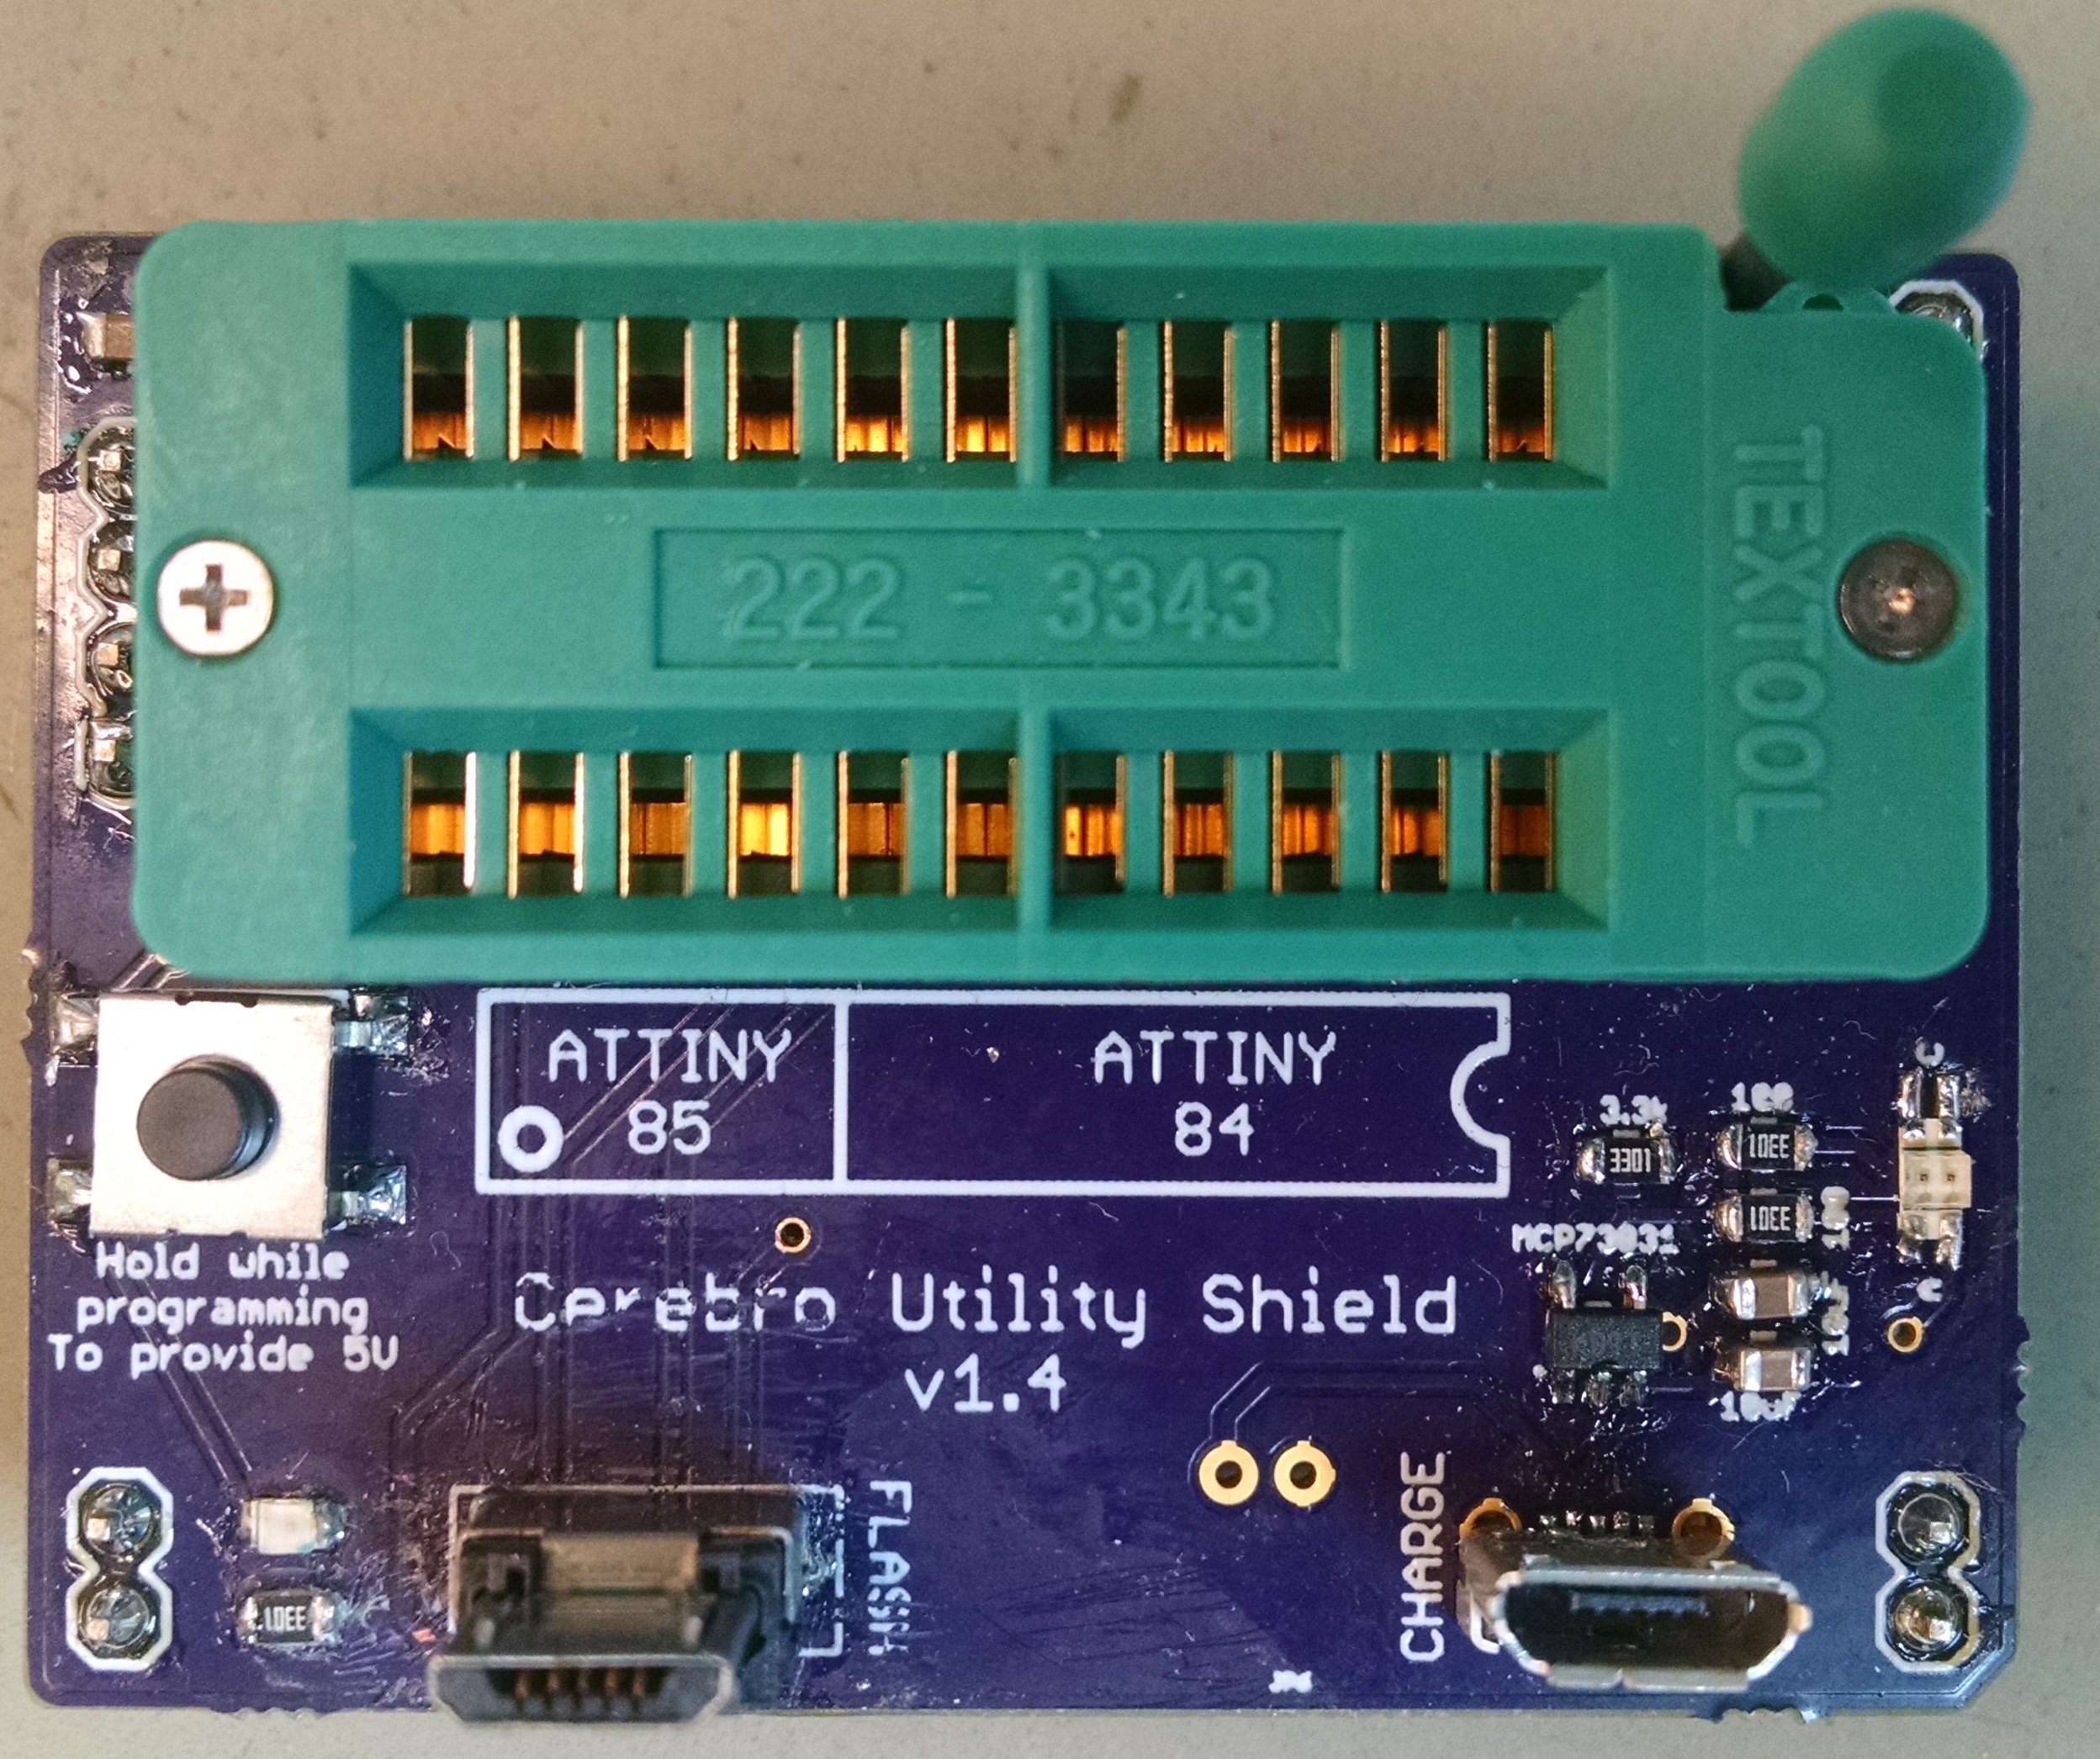
Utility Shield
Required Tools
Bill of Materials
Tip
The pins on the vertical USB plug are very short and fail to protrude from standard thickness (~1.6mm) PCBS. Therefore I recommend ordering thinner boards (~0.8mm) to make soldering the connector easier.
| Qty | Description | Datasheet | Vendor |
|---|---|---|---|
| 1 | Utility Shield PCB | OSH Park | |
| 1 | Arduino Uno | ATmega328 |
Octopart |
| 1 | 22 pin ZIF socket | 222-3343-00-0602J |
|
| 1 | Male micro USB vertical plug | ZX20-B-5S-UNIT(30) |
|
| 1 | Male micro USB shielding | ZX20-B-SLDC |
|
| 1 | Female micro USB vertical socket | 1051330011 |
|
| 1 | Lipo charger IC | MCP73831T |
|
| 1 | 1206 red/green LED | 5977703607F |
|
| 1 | 0603 Red LED | LTST-C191KRKT |
|
| 1 | Breakaway 0.1” male pins | 68001-420HLF |
|
| 1 | Tactile Switch | B3FS-1010P |
|
| 2 | 0805 100 Ω Resistor | ||
| 1 | 0805 27 kΩ Resistor | ||
| 2 | 0805 4.7 μF Capacitor | ||
| 1 | 0805 10 μF Capacitor |
Design Files
Setting up Arduino IDE
- Download and install Arduino Software
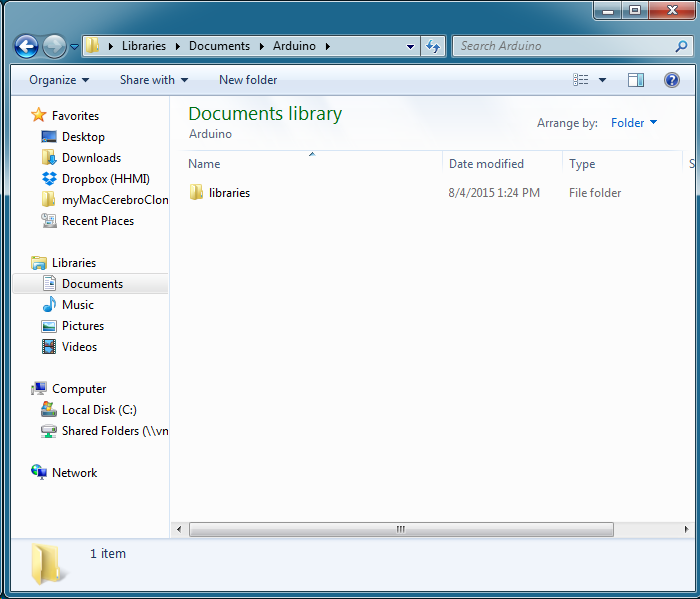
- Open up your Arduino Sketchbook folder. It should be located in your main “Documents” folder with the name “Arduino”. If you cannot find it, open the Arduino Application and go to File -> Preferences. The location of your Sketchbook folder is shown at the top of the preferences window. Your Sketchbook folder will have your current projects and a “libraries” folder.

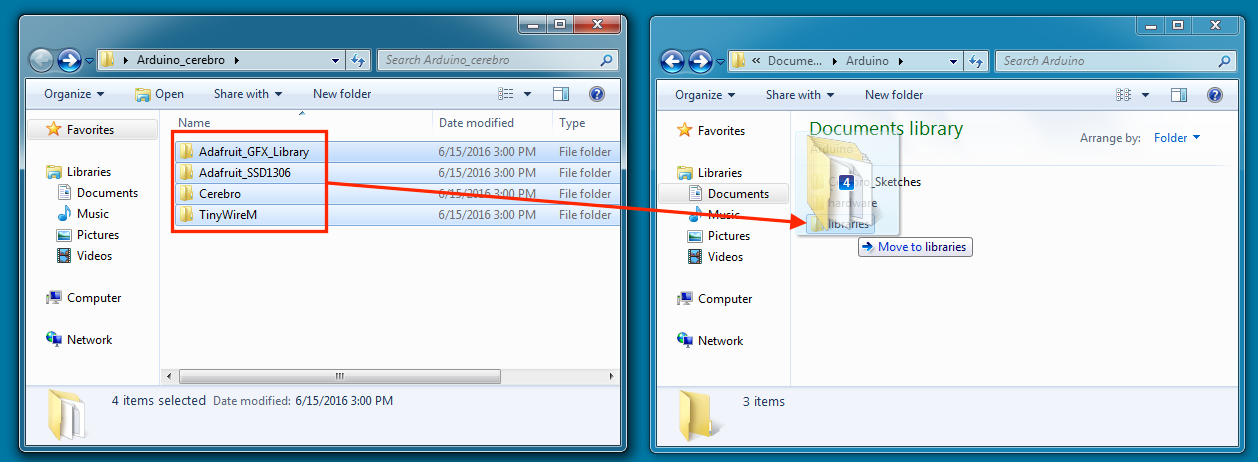
- Download and unzip
Arduino_cerebro.zip - Transfer the “Cerebro_sketches” and “Hardware” folders into your Arduino Sketchbook folder
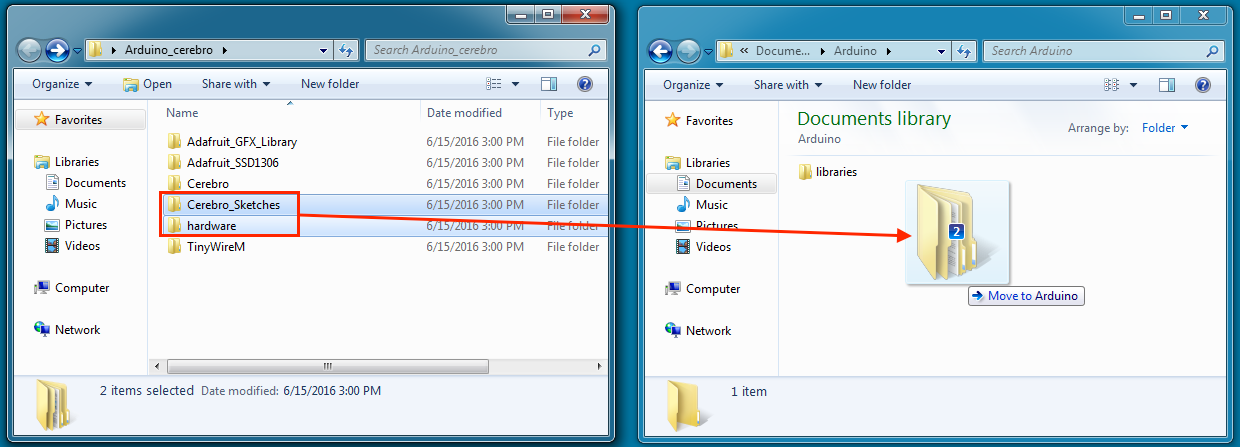
- Transfer the remaining library folders into the “libraries” folder
Setting up Utility Shield
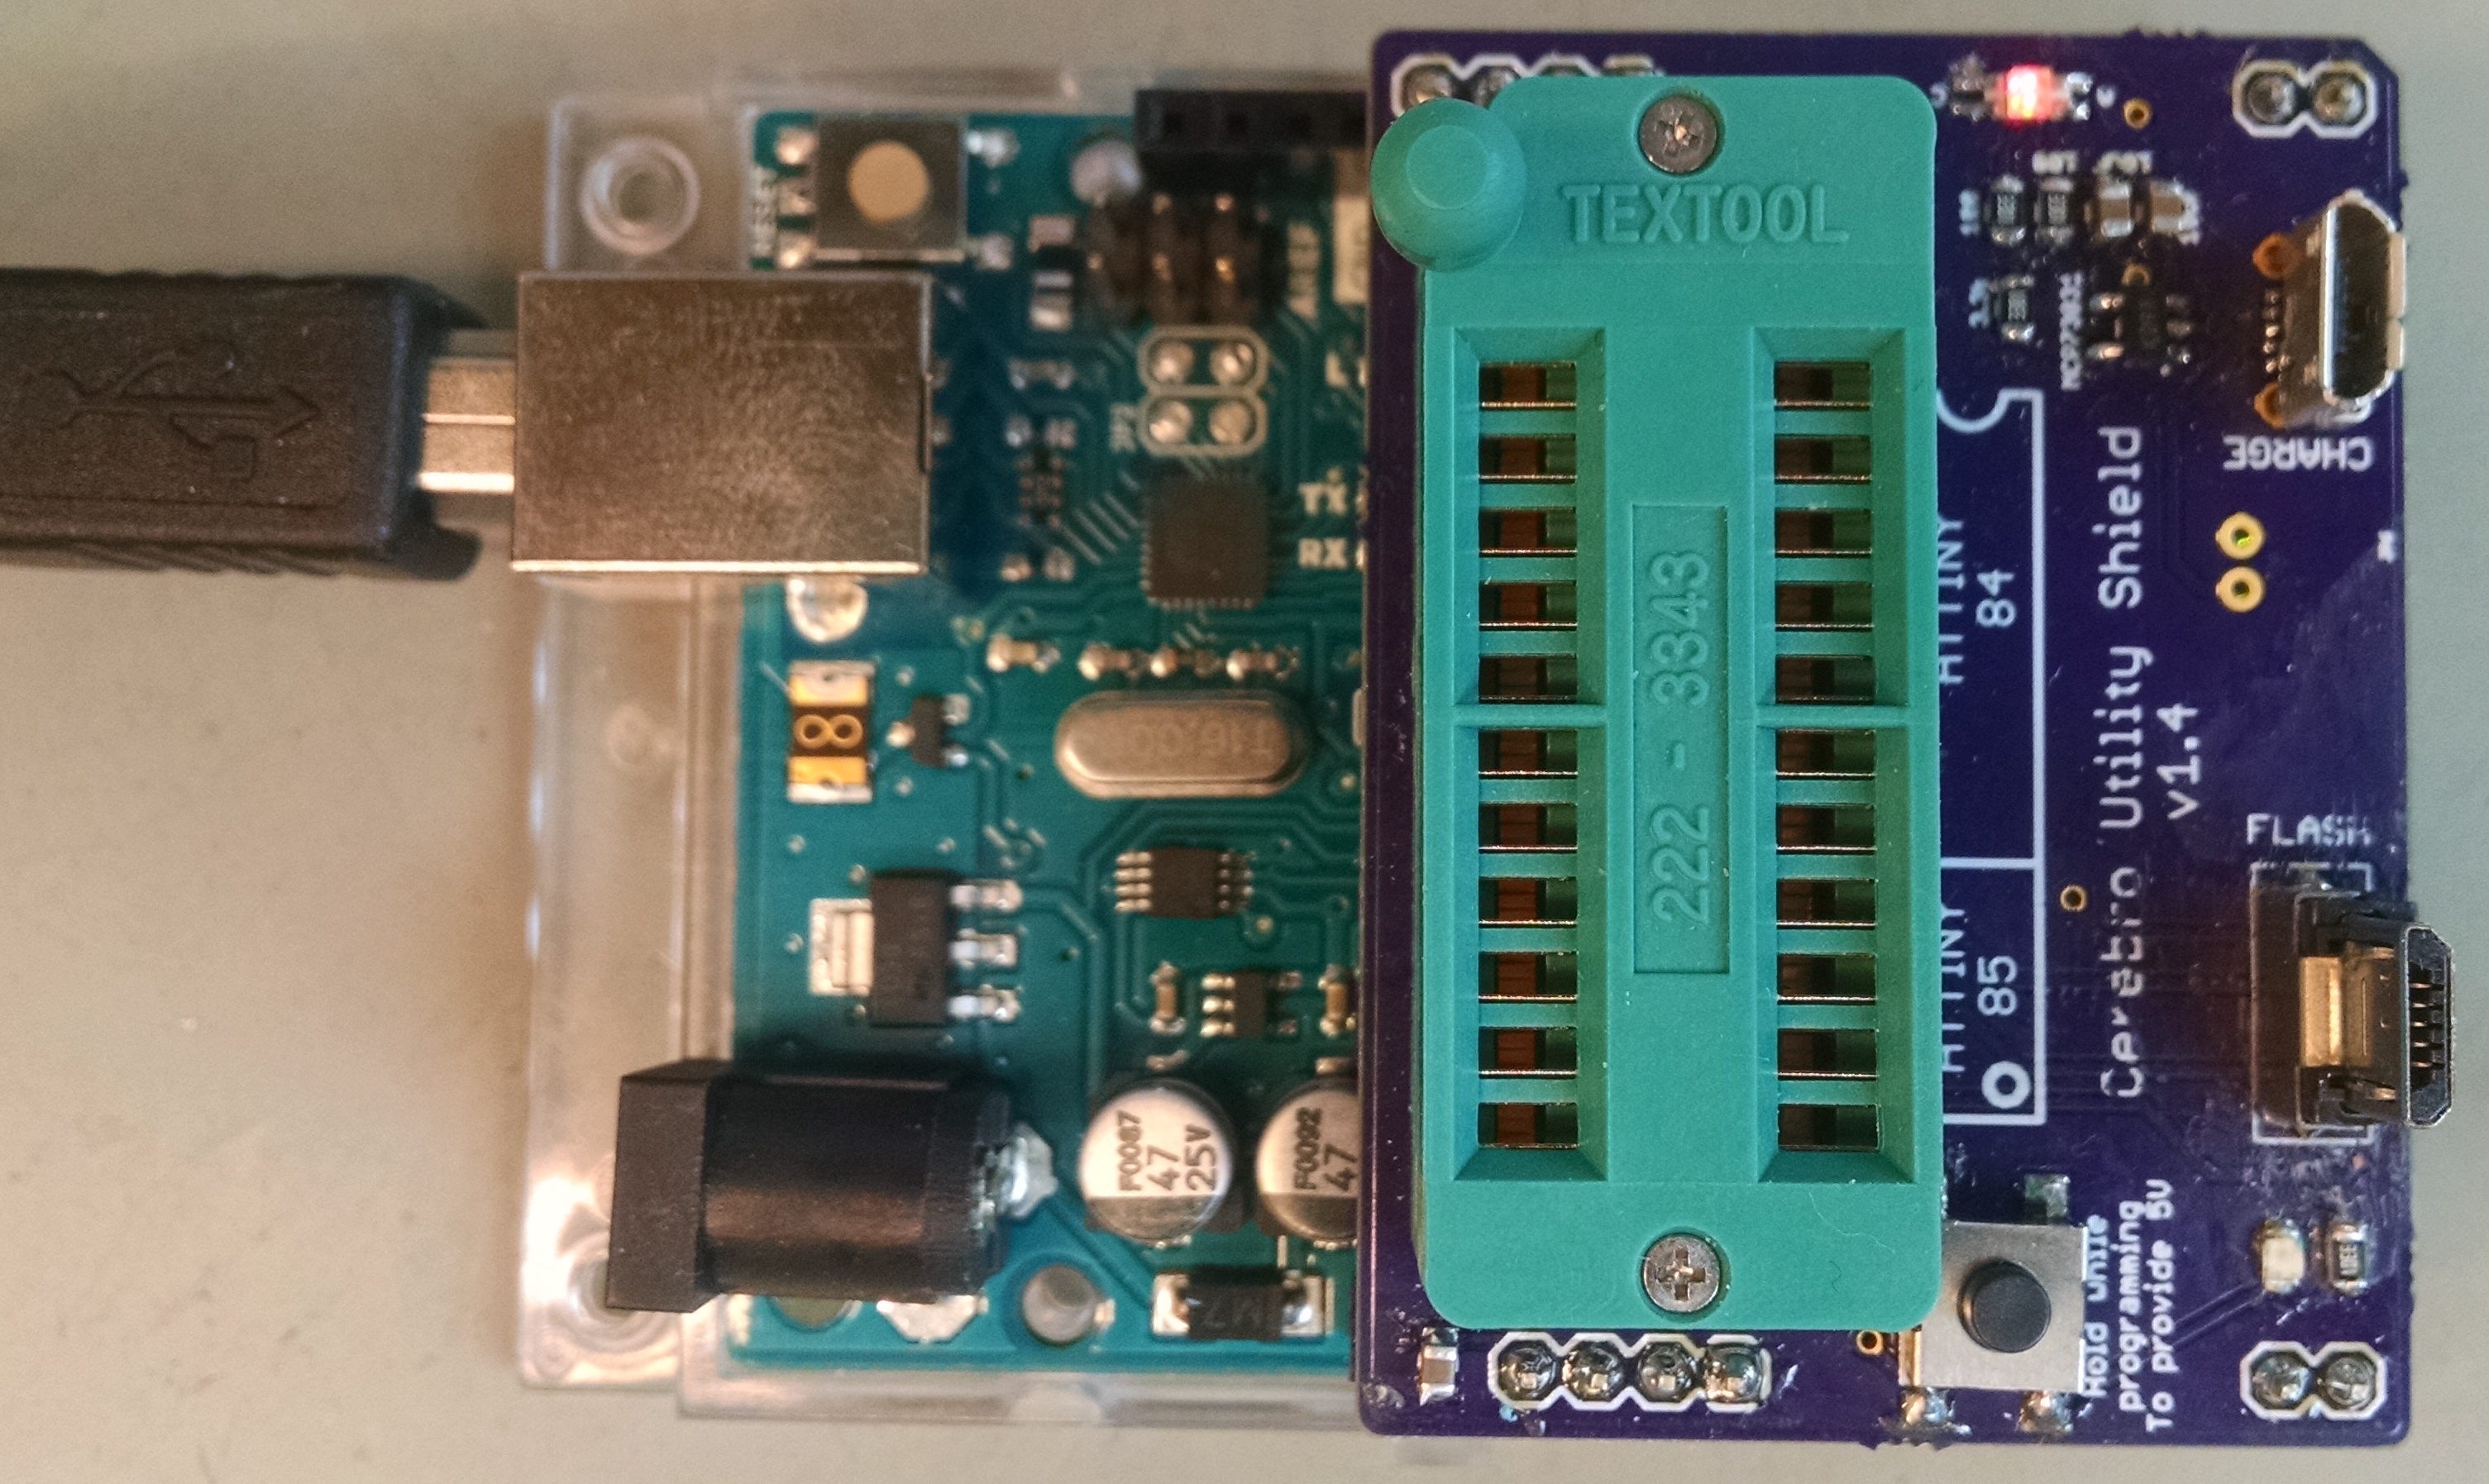
To upload firmware, we will be using an Arduino Uno as an In-System Programmer (ISP). The Utility Shield connects to the Arduino Uno to route the programming signals to the correct pins on various AVR microcontrollers.
- Connect an Arduino Uno to your computer via USB
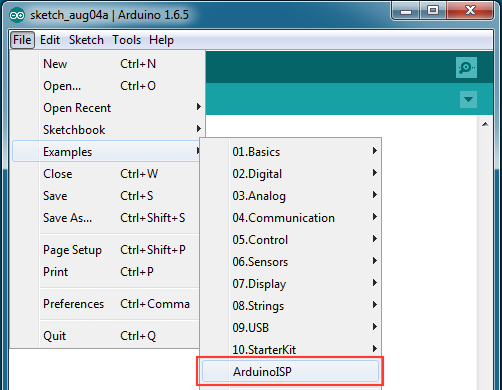
- Open the Arduino application and go to File -> Examples -> ArduinoISP
- Make the following selections under the Tools menu:
Board: “Arduino/Genuino Uno”
Port: “COMXX (Arduino/Genuino Uno)”
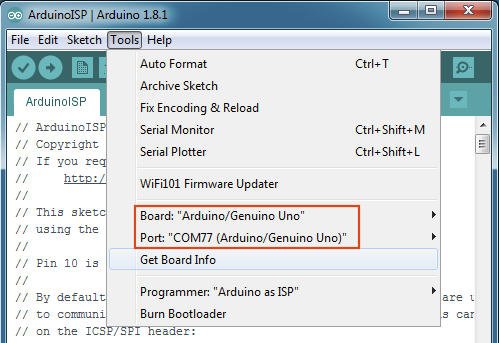
- Upload the ArduinoISP firmware by clicking the upload arrow

- Connect the Utility Shield to your Arduino Uno
- You are ready to start programming Cerebro , Base Station , IR Remote and Charging Dock